If you are running events through your WordPress site, you have probably looked at Eventbrite, Humanitix, or one of the other SaaS ticketing platforms. They work. But they also take a cut of every ticket you sell, they control the attendee relationship, and your event pages live on their domain rather than yours.
Event Espresso takes a different approach. It is a WordPress plugin that handles event registration, ticketing, and payments directly from your own site. No per-ticket commissions. Funds go straight into your own Stripe or PayPal account. You own the data, you control the experience, and the event pages benefit from your site’s existing SEO authority.
I have set up Event Espresso for clients running everything from single-day workshops to multi-day conferences with tiered ticketing. This walkthrough covers the full setup from a fresh install to a live paid event with Stripe processing payments.
Before you install anything
There are two WordPress settings you need to confirm before Event Espresso will behave properly.
First, check your timezone. Go to Settings > General in your WordPress dashboard and make sure the timezone is set to a city or region near you, not a UTC offset. Event Espresso uses this to calculate event start and end times, ticket sale windows, and automated email scheduling. If it is set to UTC+10 instead of “Sydney”, you may run into daylight saving issues down the track.
Second, check your permalink structure. Go to Settings > Permalinks and make sure it is set to “Post name” or any structure other than “Plain”. Pretty permalinks are not strictly required, but Event Espresso generates event URLs based on your permalink settings, and plain URLs with query strings are bad for both usability and search engines.
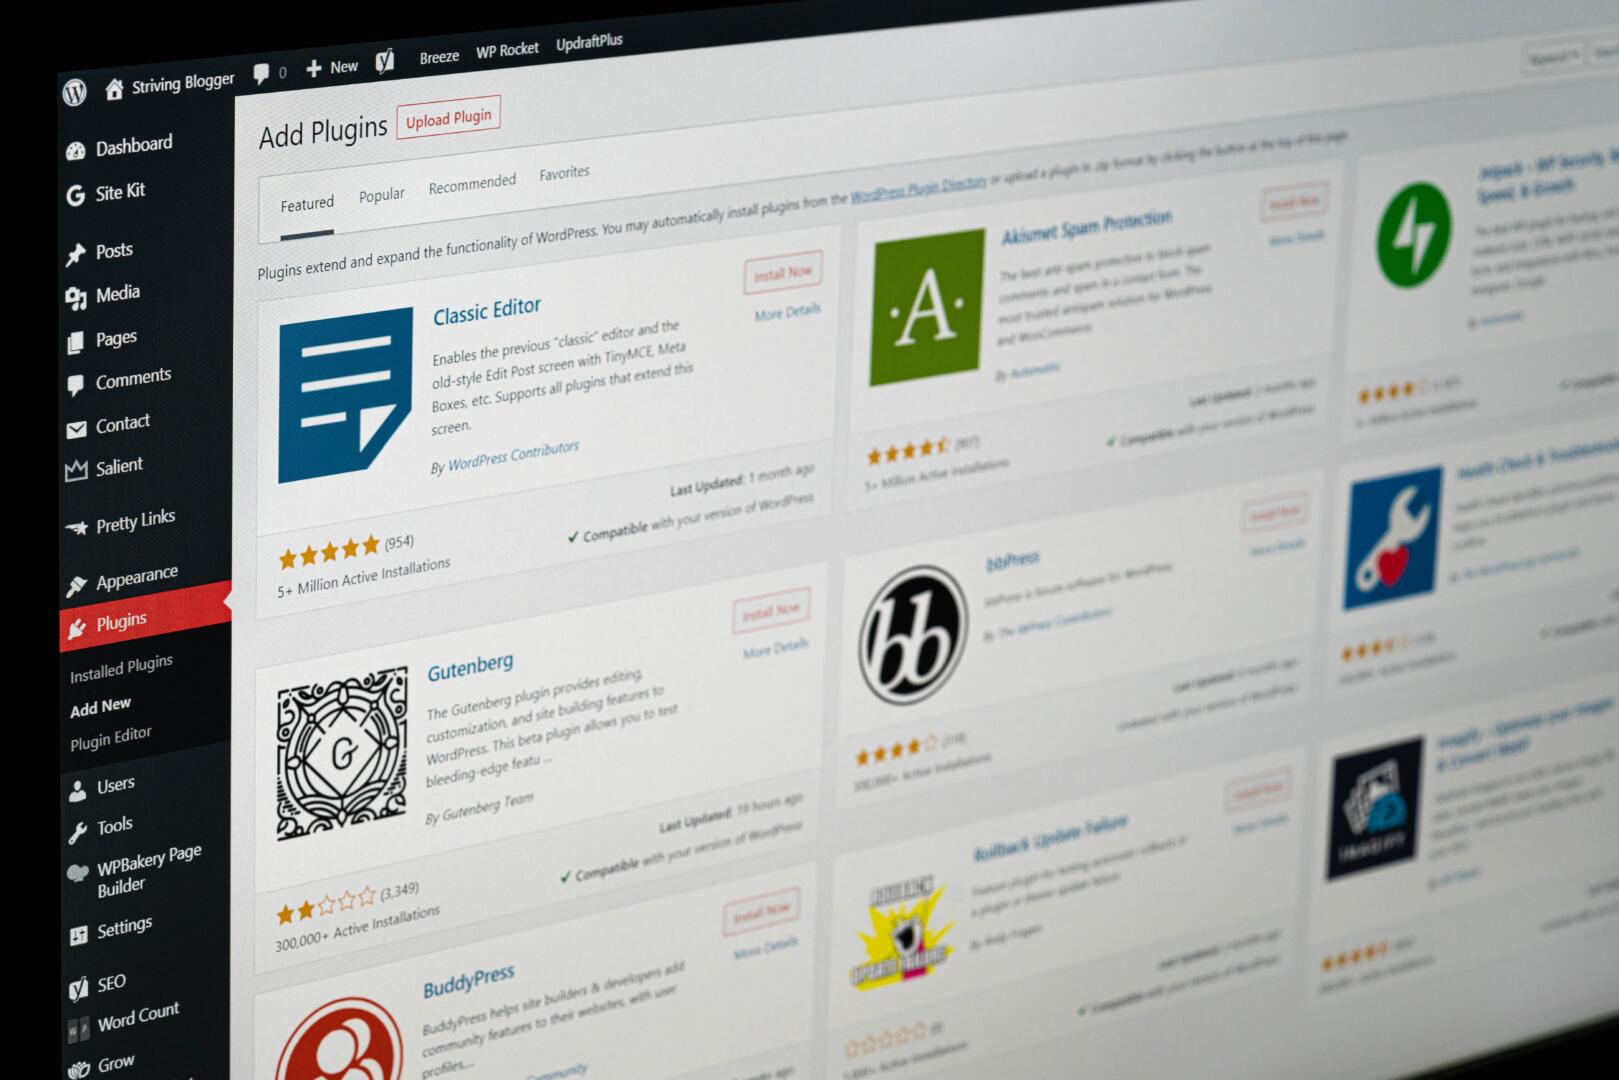
Installing Event Espresso
If you are using the free Decaf version, search for “Event Espresso” under Plugins > Add New and install it directly. If you have purchased a premium licence, download the zip file from your Event Espresso account, then go to Plugins > Add New > Upload Plugin and upload it manually.
After activation, navigate to Event Espresso > General Settings. Fill in your organisation’s contact information, this populates confirmation emails and receipts. If you have a premium licence, go to Event Espresso > Licence Keys, enter your key, and activate it. This unlocks automatic updates and access to add-on plugins.
Setting up Stripe for payments
Event Espresso supports multiple payment gateways, but for most Australian businesses I recommend Stripe. There are no redirect screens, the checkout stays on your site, and Stripe handles PCI compliance so you do not have to worry about storing card data.
You will need the Stripe add-on plugin installed and activated. Once it is active, go to Event Espresso > Payment Methods and click on Stripe Checkout. Click “Activate Stripe Checkout Payment Method”, then scroll down and click “Connect with Stripe”. This takes you through Stripe’s OAuth flow where you authorise Event Espresso to process payments on your behalf.
A few things to note here. You need an SSL certificate on your site, HTTPS is non-negotiable if you are accepting payments. Stripe Checkout supports credit and debit cards, Apple Pay, Google Pay, and various regional payment methods depending on your Stripe account settings. You manage which methods are available from your Stripe dashboard, not from within Event Espresso.
Before you go live, toggle Stripe into test mode and run a test transaction end to end. Stripe provides test card numbers for this purpose. Confirm that the payment registers in Event Espresso’s transaction screen and that the confirmation email sends correctly. Only switch to live mode once you have verified the full flow.
Creating a venue
If your event has a physical location, create the venue first so you can attach it to events later. Go to Event Espresso > Venues > Add New Venue. Fill in the name, address, and capacity. If you want a Google Map to appear on your event page, you will need a Google Maps API key, there is a link in the venue settings to register for one. Set “Display Google Map for this venue” to Yes and save.
For online events, you can skip the venue or create a virtual venue and include access details (Zoom link, Google Meet URL) in the venue description. These details will appear on the event page and in confirmation emails.
Building your first event
Go to Event Espresso > Events > Add New Event. Enter a clear, descriptive title, this becomes the page heading and the URL slug, so make it something people would actually search for rather than an internal code name.
Write a proper event description in the content editor. This is a full WordPress content area, so you can use headings, images, and embeds. Think of it as a landing page for the event.
Scroll down to Event Tickets and Datetimes. Set the event start and end date and time. Then configure your tickets. By default, a free ticket is created. Click the pencil icon to edit it, change the name (for example, “General Admission”), set the price, and optionally set a ticket quantity limit. You can add multiple ticket types here, such as Early Bird, Standard, VIP, each with different prices and availability windows.
Under Event Registration Options, you will see settings for maximum registrations and the ability to assign question groups. The default Personal Information group collects first name, last name, and email. You can create custom question groups under Event Espresso > Registration Forms if you need additional information.
Save the event. Preview it to check the frontend layout, then publish when you are satisfied.
The confirmation email
Event Espresso automatically sends a confirmation email when someone registers. You can customise these under Event Espresso > Messages. The default template is functional but generic. At minimum, update it with your organisation name, include the event date and location clearly, and add any pre-event instructions (parking details, what to bring, cancellation policy).
If you are running paid events, the confirmation email should also include payment receipt information. Event Espresso handles this by default, but review the template to make sure the formatting matches your brand.
Go-live checklist
Before you share the event URL, run through this:
he event status is set to Active (not Draft or Sold Out). Stripe is in live mode, not test mode. The SSL certificate is valid and the padlock icon appears in the browser. You have completed a test registration and received the confirmation email. The event page loads correctly on mobile. The ticket sale start and end dates are correct. You have checked the event page for typos, because once people start registering, changing the event title or URL creates problems.
That is the complete setup. From a fresh install to a live paid event, this process takes about 45 minutes if you have your Stripe account ready and your event details prepared in advance.